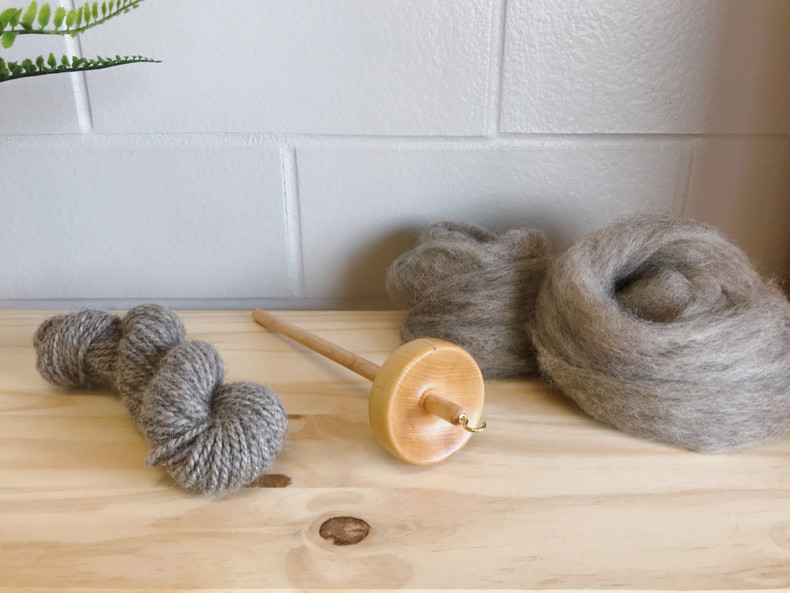
Spinning yarn is an ancient craft that has provided us with beautiful textiles for centuries. If you're interested in creating your own yarn, a top whorl drop spindle is a fantastic tool to get started. This portable and versatile spinning device allows you to transform roving into yarn, granting you control over the texture, thickness, and color of your handspun creation. In this blog post, we'll guide you through the process of using a top whorl drop spindle, empowering you to embark on a fulfilling spinning journey.
Step 1: Gathering Materials and Setting Up: To begin, assemble the necessary materials:
- Top whorl drop spindle: Choose one that suits your preferences in terms of weight, size, and material (wood, metal, or other options).
- Roving: This is unspun wool or fiber, available in various colors and fibers such as Merino, Alpaca, or Silk.
- Optional: A yarn gauge to measure the thickness of your spun yarn.
Step 2: Preparing the Fiber: Start by drafting the roving. Hold the end of the roving firmly in one hand and gently pull out a small section of fiber. Continue pulling until you achieve a consistent thickness throughout. Repeat this process until you have drafted a sufficient amount of fiber to work with.
Step 3: Attaching the Fiber to the Spindle: Locate the hook or notch at the top of the spindle shaft. Slide a small amount of drafted fiber through the hook or notch, securing it in place. Leave a tail of fiber extending beyond the hook to give you room to work.
Step 4: Starting the Spindle: Hold the spindle shaft with your non-dominant hand, allowing the spindle to hang freely. Give it a gentle spin in a counterclockwise direction (if you're right-handed) or a clockwise direction (if you're left-handed). This initial spin will initiate the drafting process.
Step 5: Drafting and Twisting: As the spindle rotates, use your dominant hand to control the drafting process. Pinch the drafted fiber between your thumb and forefinger, approximately six inches below the spindle hook. Apply a slight tension to keep the fibers aligned. With your other hand, allow the spindle to twist the drafted fiber, transferring the twist from your hand to the yarn. Continue this process, gently adding twist as needed, until the drafted fiber has been fully spun into yarn.
Step 6: Adding More Fiber: As you reach the end of the drafted fiber, prepare another section by drafting it in the same manner as before. When the spindle slows down, gently park it on a surface, allowing it to rest while you attach the new fiber to the existing yarn. Secure the new fiber to the existing yarn with a half-hitch knot. Resume spinning by gently spinning the spindle to add twist to the new fiber.
Step 7: Achieving Consistency: Consistency in your yarn is crucial, especially if you plan to use it for knitting or weaving. Pay attention to the thickness of the drafted fiber and the amount of twist applied. Practice will help you develop an instinctive sense for consistency, but using a yarn gauge can also be helpful for measuring the thickness of your spun yarn.
Step 8: Finishing: Once you've completed spinning the desired length of yarn, remove the yarn from the spindle by slipping it off the hook or notch. Wind the yarn into a ball or onto a niddy-noddy for storage and future use. You can choose to set the twist in the yarn by soaking it in warm water and hanging it to dry, ensuring a more stable and usable yarn.
Using a top whorl drop spindle to spin roving into yarn is an enjoyable and rewarding craft. With practice and patience, you'll master the art of drafting, spinning, and creating beautiful handspun yarn. Remember to experiment with different fibers, colors, and techniques to unleash your creativity. So, grab your spindle, select some exquisite roving, and let your imagination spin a world of possibilities!

